Sony Film Recipes - Yes it exists!
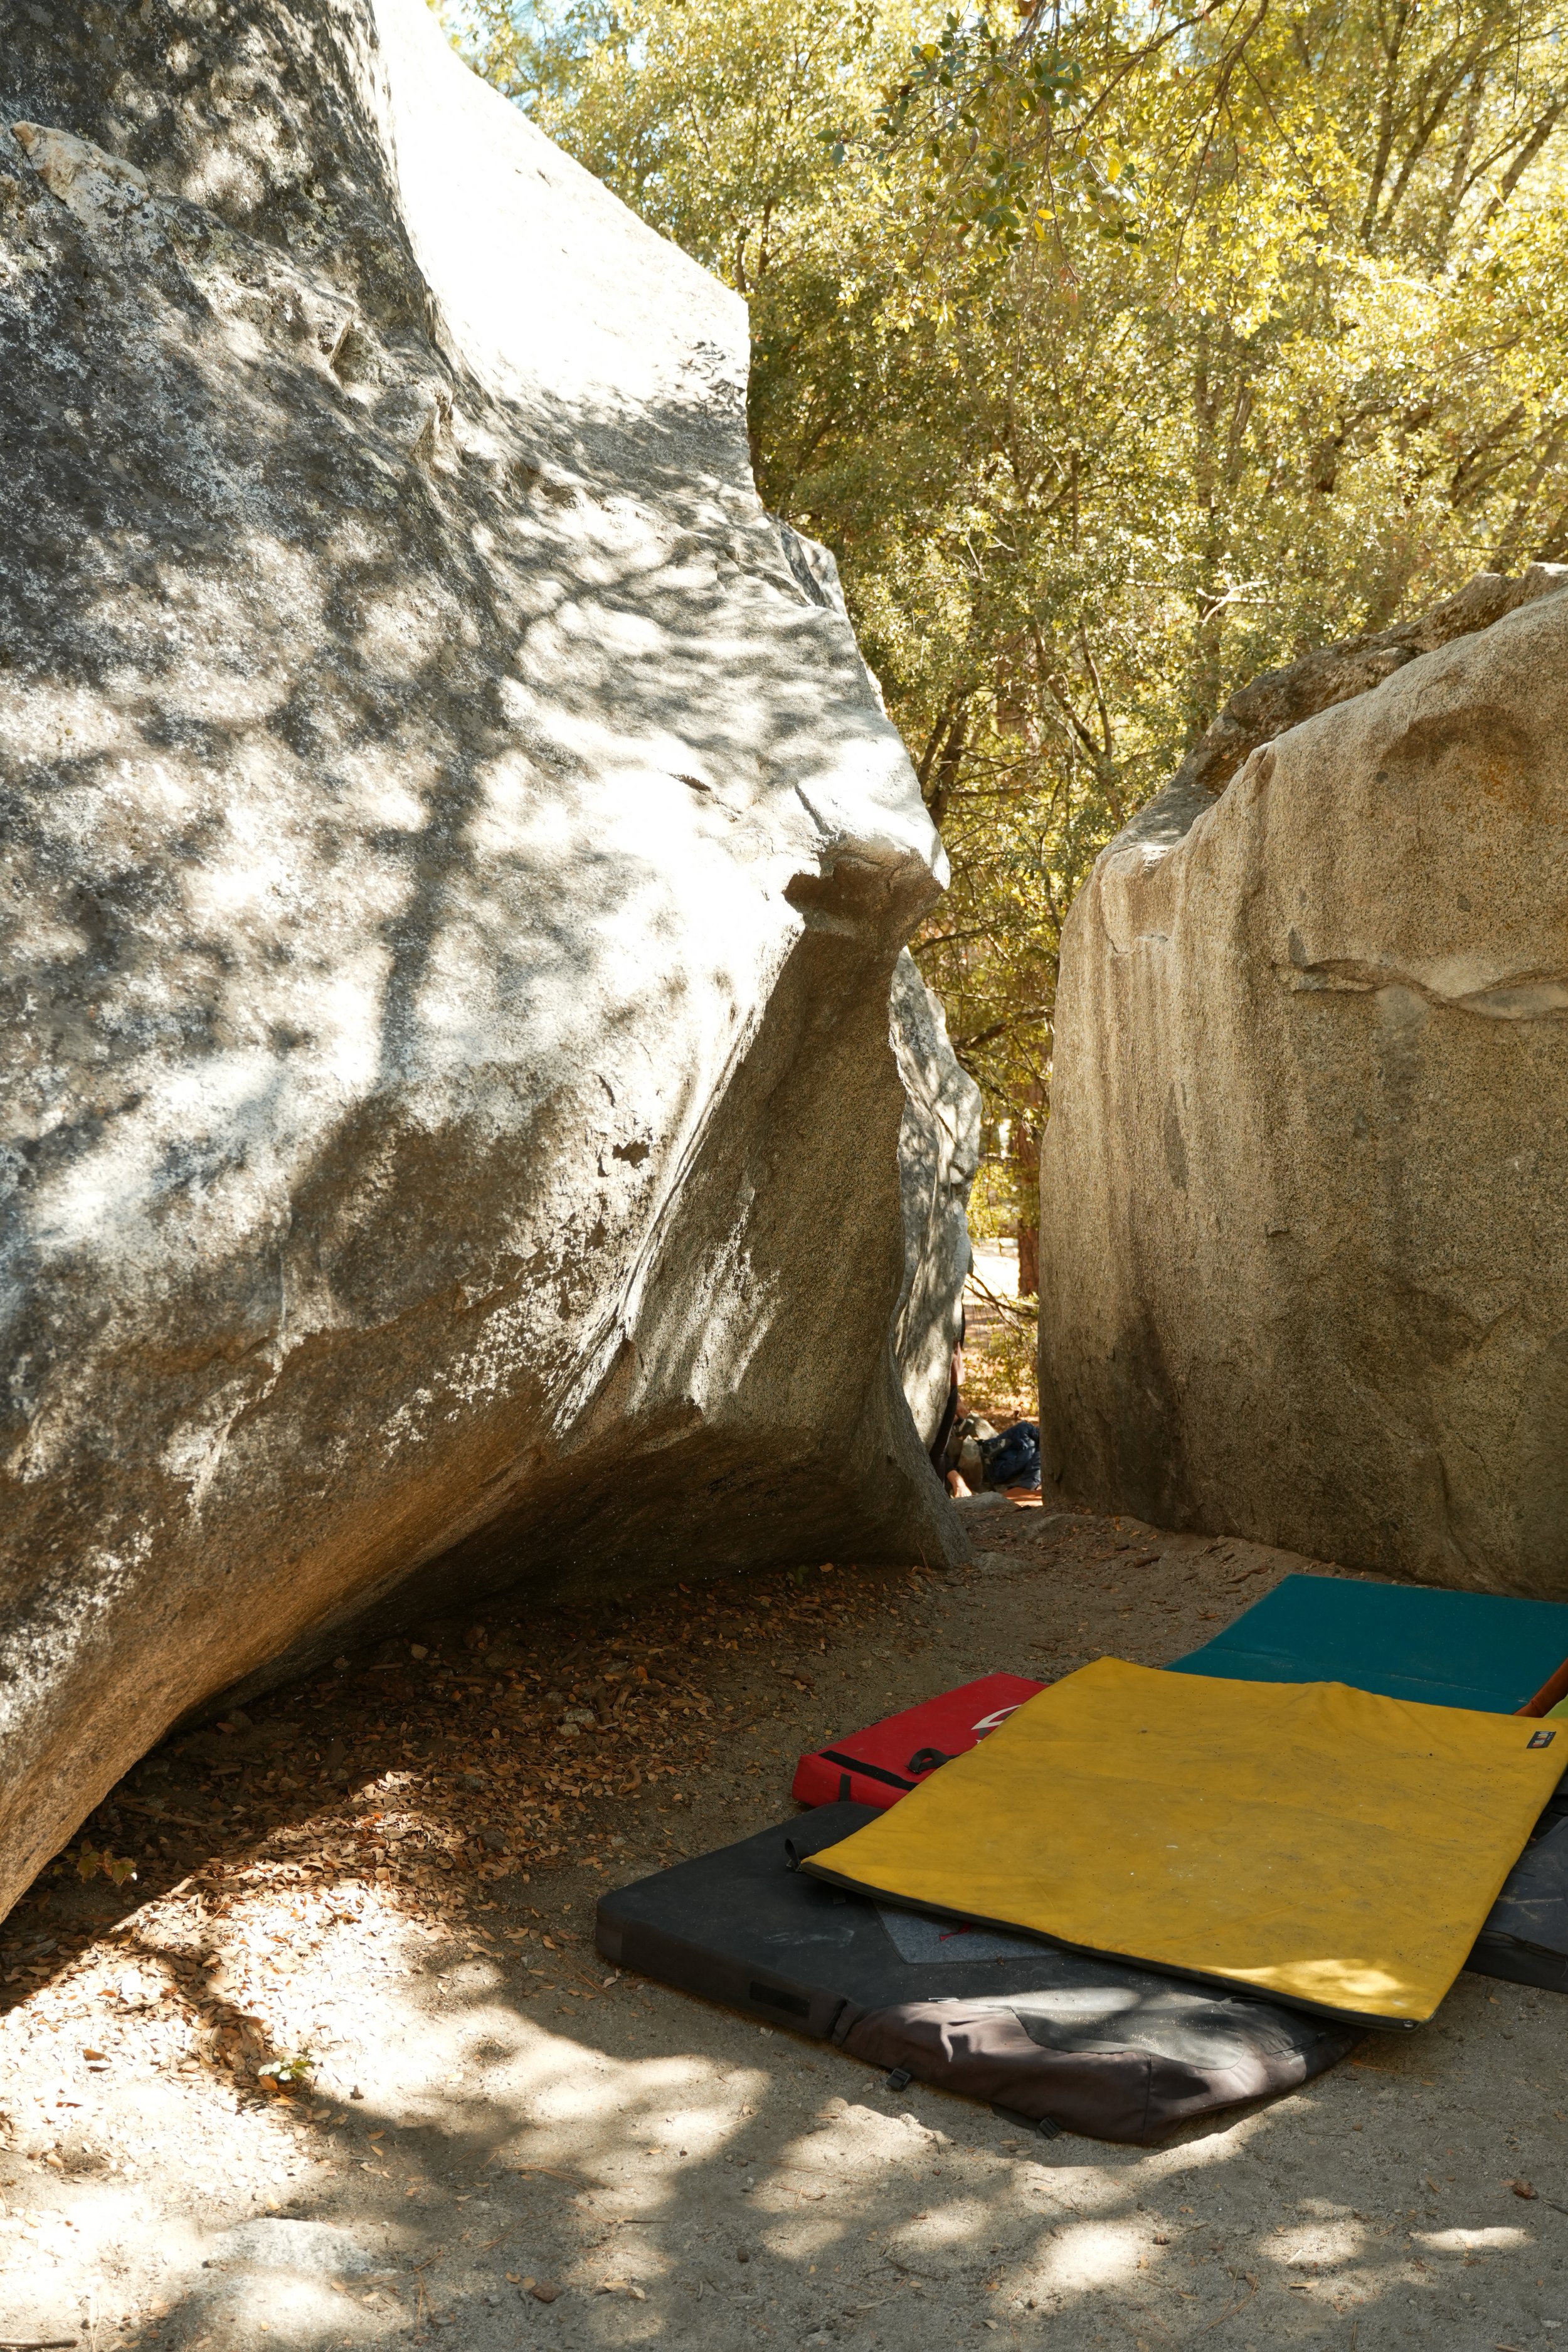
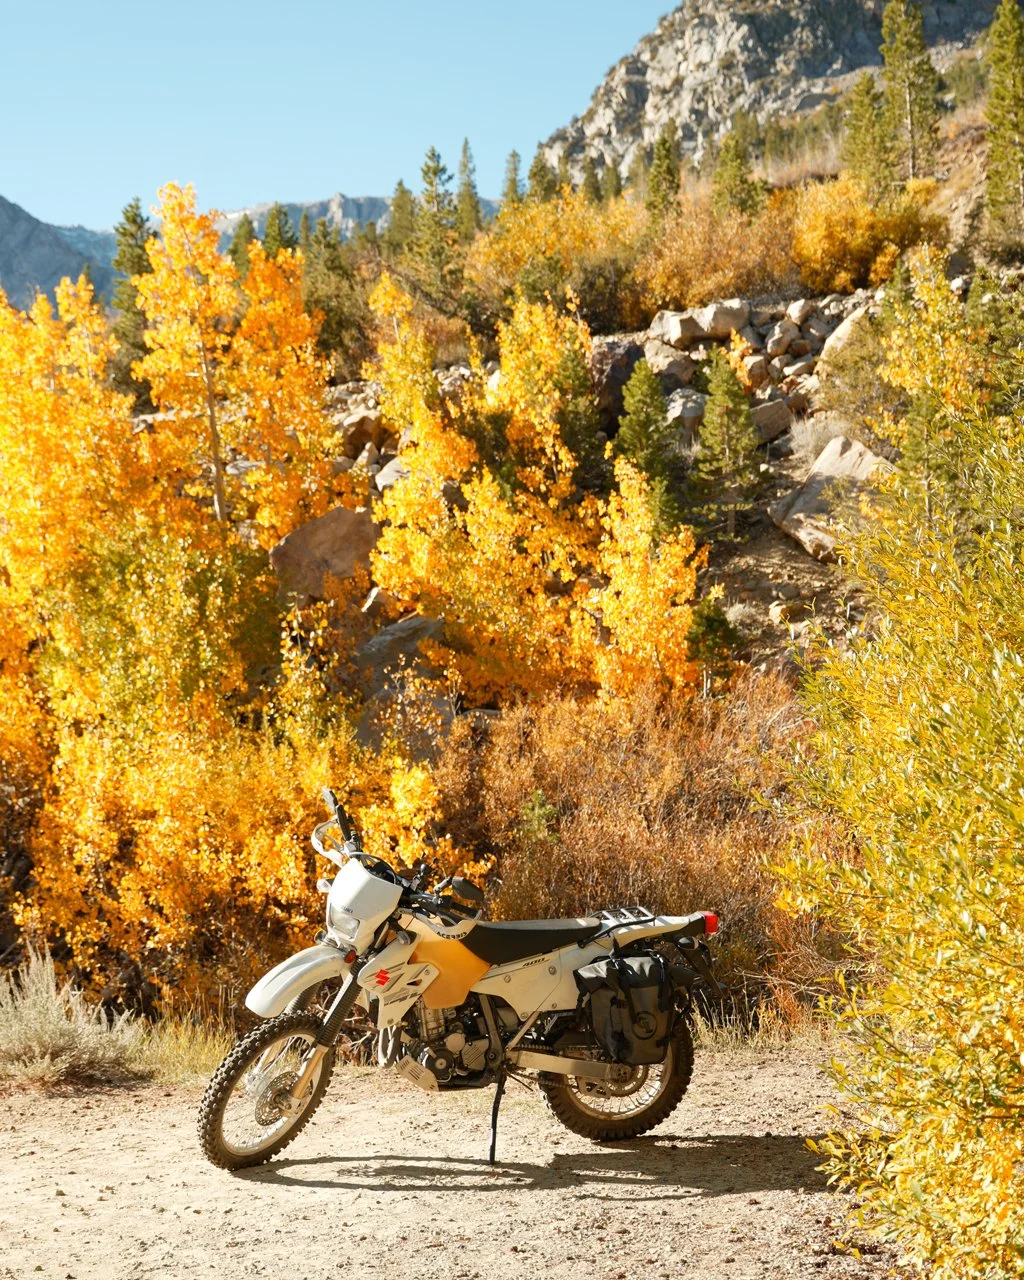
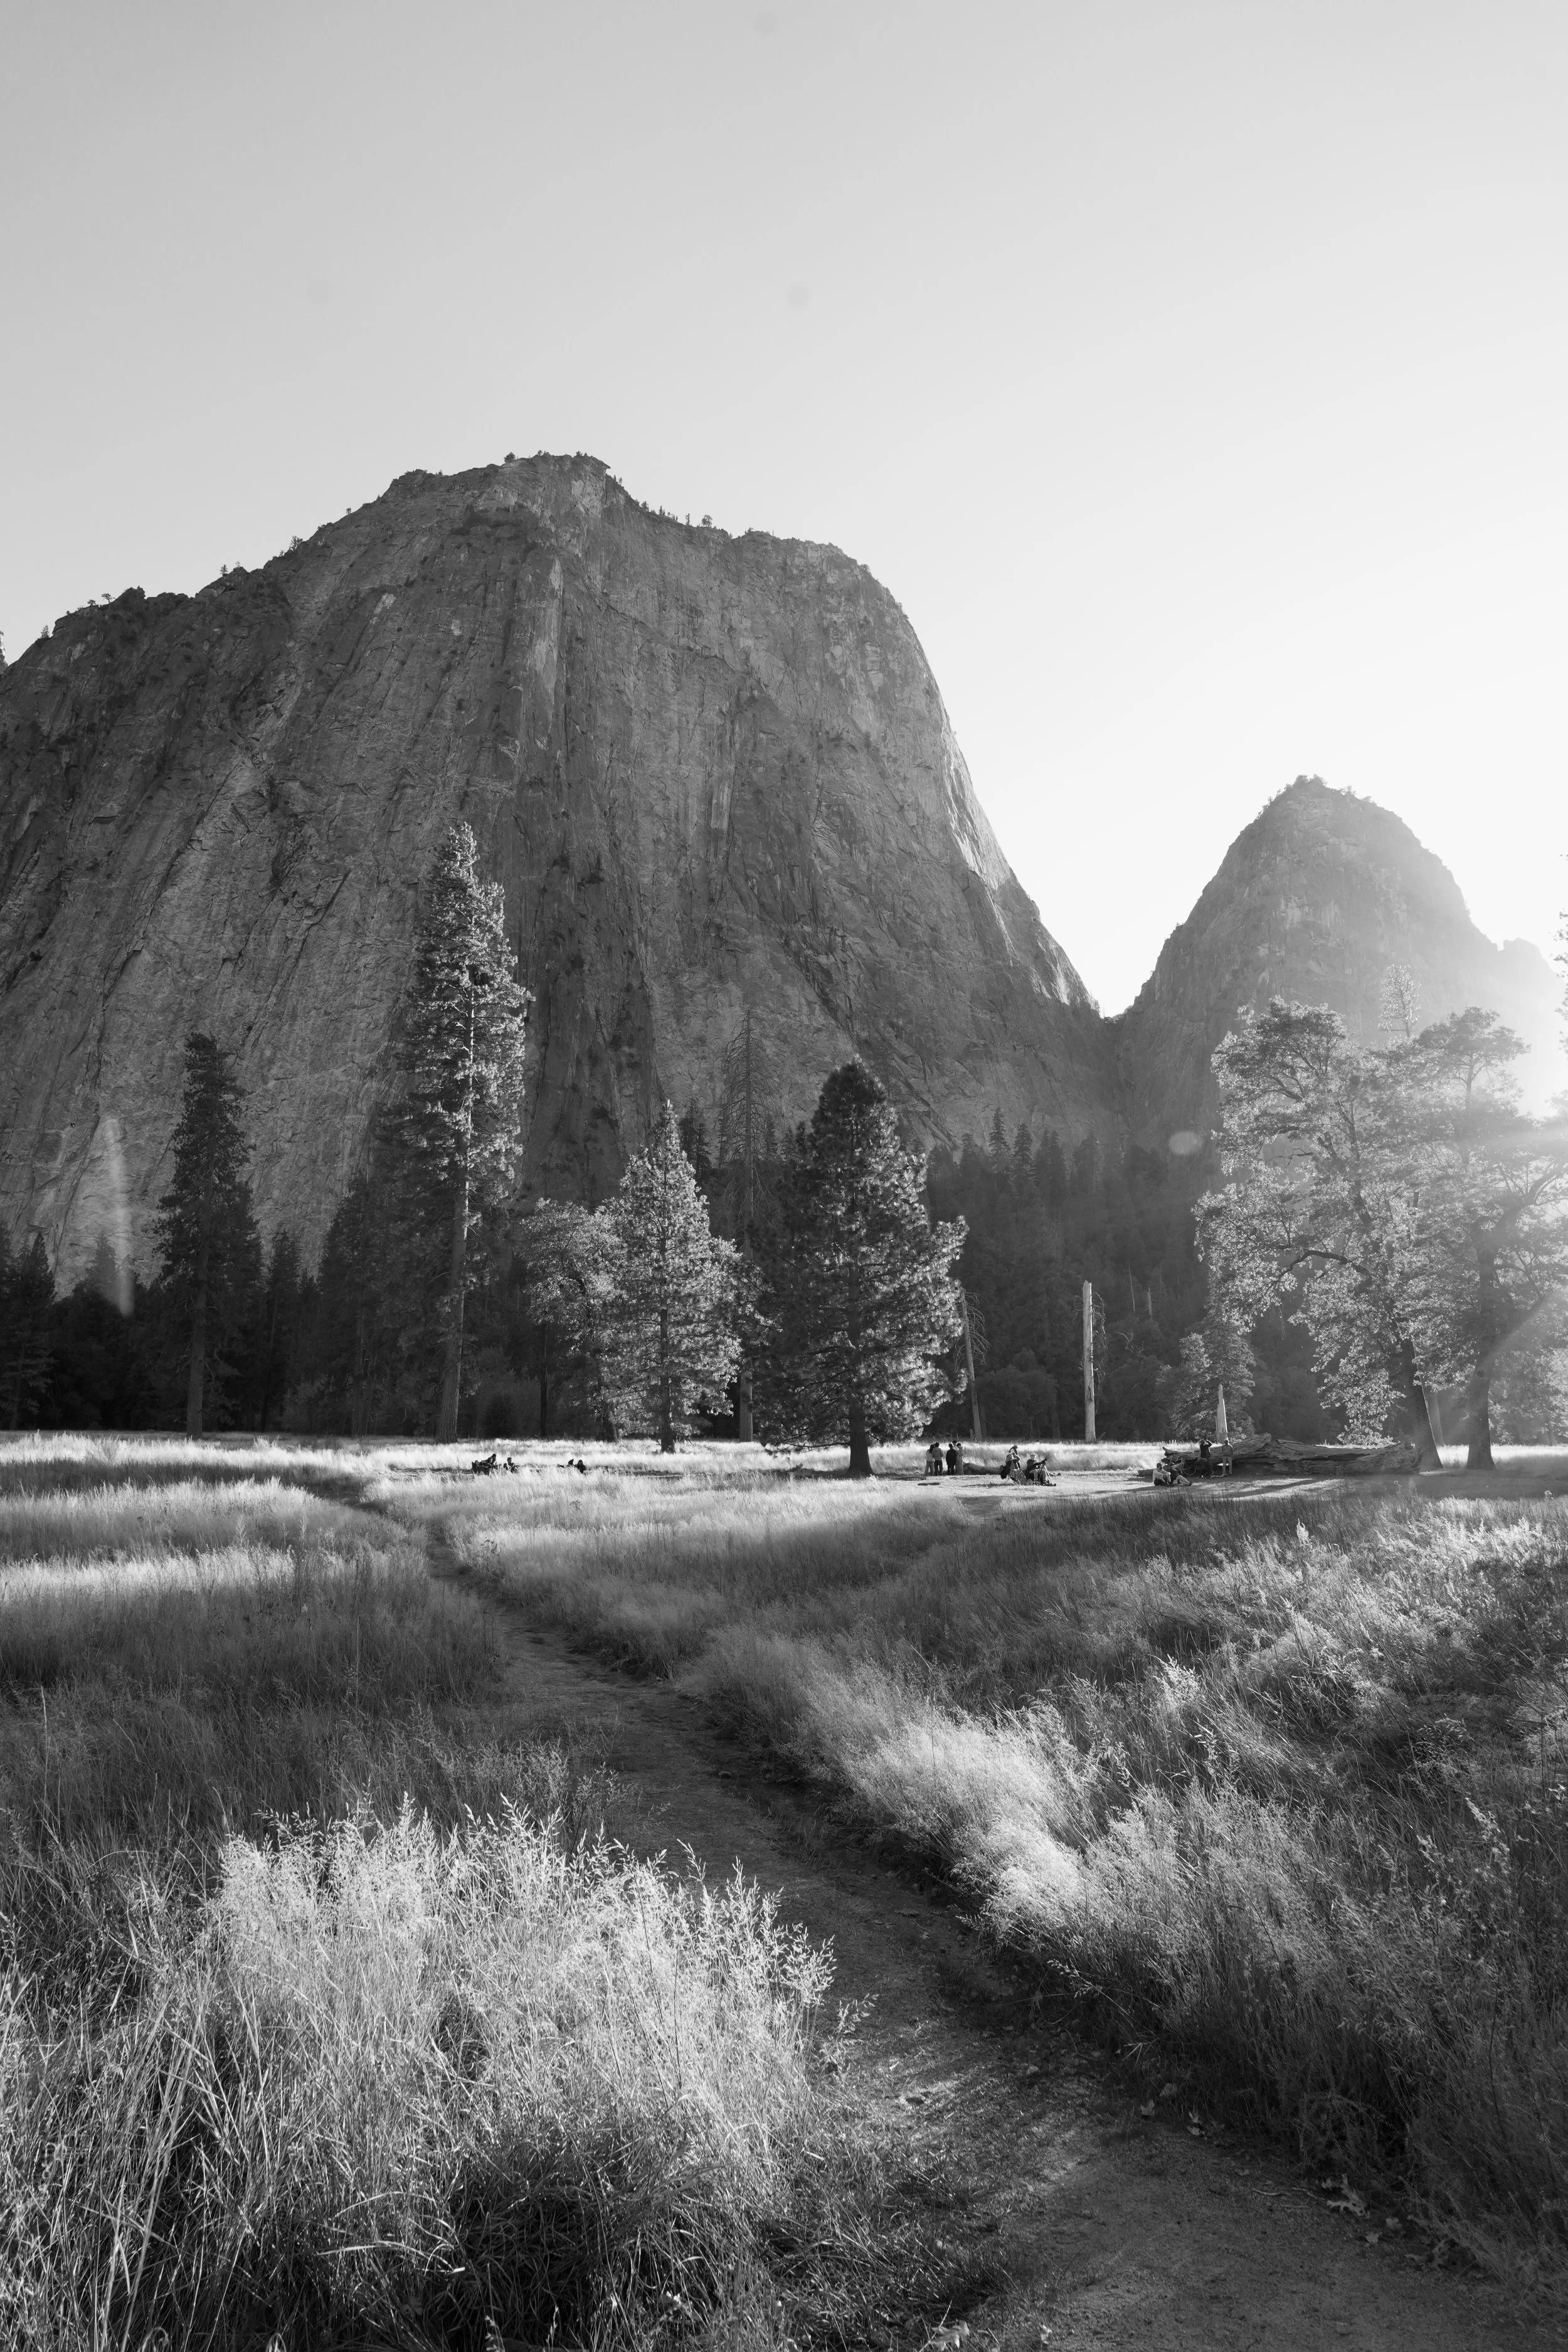
All of the photos you see below were shot on a Sony camera, and none of them were edited.
Seriously.
This post is meant to explain how and why I did this and what it might mean for you.


A Brief History:
This whole thing started for one reason.
I bought a Fujifilm camera.
and then photography was never the same.
There was just something so magical about that camera. It had these “film simulations” that basically mimicked the feeling and look of shooting film (to a certain extent) and virtually eliminated the need to process RAW photos. The colors I was getting in my Fujifilm jpegs was JUST SO GOOD! I virtually stopped shooting RAW photos and was enjoying every second of it.
And so I had an idea…
“What if I could somehow replicate these fujifilm simulations on my Sony camera...”

So what is going on here…?
Basically - I’m using Sony’s Picture Profile feature to create “presets” that get baked into my jpeg photos. So essentially I’m able to capture photos with great colors and contrast straight on the camera without editing.
Think of it like a built-in Lightroom preset or filter.
I started out by trying to replicate my own custom Fujifilm recipes and I got incredibly close! And then of course I began experimenting and created a few new recipes as well. It took a lot of tweaking and trial and error, but I finally got something I’m happy with.
What I really like about it is it gets you back to the true essence of capturing images. Simply looking through the viewfinder, waiting for a moment, and clicking the button. The way photography was meant to be.
Does this work on all cameras?
These film recipes are tested to work on any newer generation Sony camera with updated color science
a7siii , FX3, A7iv, A7Cii, A7CR, ZV-E1 … etc
Basically if your camera has s-cinetone in the picture profile menu they will work. If your camera has Sony’s new color science that was updated around the release of the A7iv, they will work.
Older Cameras like the a7iii and a7sii can still use these film recipes, you’ll just need to change the s-cinetone color modes to something else like cine4.
I have not personally tested this but some a7iii photographers have found great results with these recipes.
All of the presets are fully customizable anyways, so if you’re even slightly tech savvy, you can make some minor adjustments to white balance and color modes to get a result you’re happy with.

Why should you buy these?
You want a Fuji camera but you already have a Sony.
Sometimes you just want to snap photos and not have to worry about editing them.
Kids birthday. road trip. camping trip. holidays. family dinners. hanging with friends.
You want to experience a more authentic way to shoot photographs.
the feeling of shooting film.
You don’t want to edit photos (or don’t know how).
You’ve lost your love for photography and want to try something new.
What are the limitations?
Honestly there aren’t many.
The photos you capture with these film recipes will be jpeg files - which obviously are not as flexible for editing as RAW files however…
You can shoot RAW + jpeg on your camera so that you have the RAW files just in case.
This is what I do and what I would recommend to most photographers.
Another tiny limitation is that you’ll get less dynamic range in these jpeg files.
That means that if you’re not careful, it’s possible to blow out the highlights in your images (which isn’t necessarily a bad thing). Fortunately there is some latitude in the jpeg files so you could technically underexpose the image to save the highlights, and then bring the shadows up in post. But that defeats the whole point of not editing. Ultimately its up to you.

How To Use Sony Film Recipes
Using these recipes is super simple, but it takes a tiny bit of setup.
Purchase the Film Recipes from my store
Find the Recipes folder with PNG files inside.
tip - save these to your mobile device so you always have them!
Copy the picture profile settings and white balance settings to your camera
go to the camera menu and find “picture profile”
input the settings as shown in the .png
set the custom white balance
Save each recipe to your camera’s memory for easy access
Set everything on your camera the way you like it, including the recipe
Locate “camera set memory” in the menu
Choose which memory slot you want to save to
numbered slots (1, 2, 3) save to the camera dial
M slots (M1, M2, M3, M4) save to the SD card
To access M slots go to “recall camera setting” in the menu
Start Shooting!

MORE SAMPLE PHOTOS


If you’d like for me to add any more information please let me know